Home Energy Efficiency Checks
What are you going to do this weekend? Get out of town? Have some friends over for a BBQ or boil? Go shopping to start getting the kids ready for school? How about doing some easy home energy efficiency checks that will save you money on your cooling bills and make your home more comfortable?
What? You didn’t have any plans to do a home energy efficiency check? Well, you’re not alone, but if you can take an hour to go through your home, it will help you make a list of what you can do to start saving on your cooling bill every single month. Even better, as you improve the energy efficiency of your home, you can also improve your indoor air quality.
Check Your HVAC Equipment
Checking your HVAC equipment is like checking and changing the oil in your car, it is something that should be done regularly. This includes checking and changing your air filters and checking the overall system.
Air Filters
The first thing you can check is the filter[s] on your air conditioner[s]. In our hot, humid climate, where our air conditioners can run 24/7 for months during the summer, it is recommended to change your air filters every month. Dirty air filters make your system work harder because it can’t cycle the air properly. The harder your system works, the higher your energy bill.
The easy way to remember to change your air filters is to do it when you pay your mortgage or rent. Add a recurring reminder on your phone or tablet if you need to, or write a note and stick it to the refrigerator door.
HVAC System Check
There are basically three parts to checking your overall central HVAC system. You need to check the outside unit, the inside unit and duct-work, and your vents.
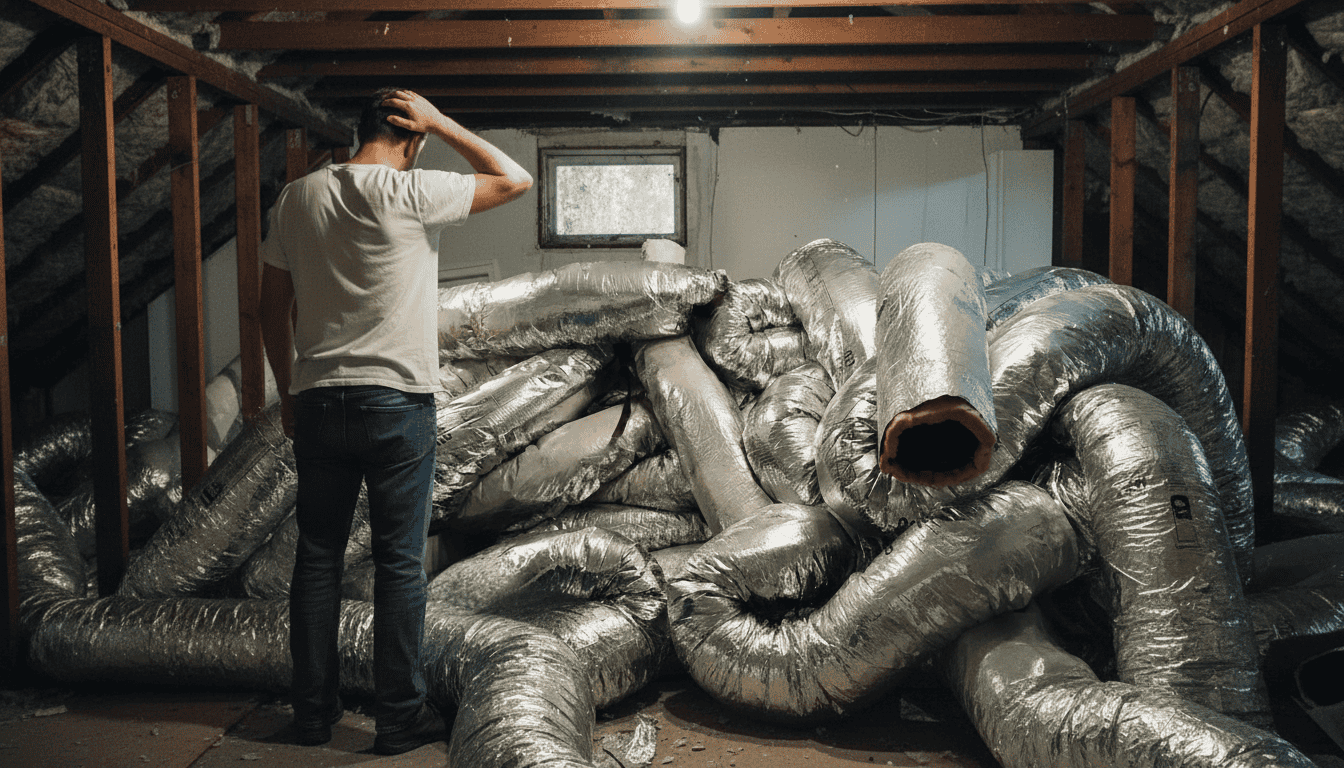
When you have leaky duct-work, it will either allow your cool, conditioned air to escape before it ever makes it out of the vent, or it will allow warm, dirty air to enter the ductwork or both. In most cases, if there are leaks in your return air duct-work, it will draw in dust and dirt that will foul your HVAC system and redistribute that dust and dirt throughout your home. If the air leakage is in your supply duct-work, then you are losing costly, conditioned cool air to unconditioned space, like your attic.
Supply Vents
The easiest place to start is walking through your home and checking all the supply vents. Is there any dust, dirt, or mold on or around the vents? Are your supply vents sweating, or covered in moisture? These are visible signs that there is air leakage/infiltration of your duct-work that should / must be addressed.
If you find that your supply vents are especially dirty, grab a screwdriver and flashlight and remove one of the supply vent covers so you can take a look inside the duct-work. If your supply vents are dirty, you can bet that your entire supply duct-work system is dirty, and possibly a breeding ground for mold growth. Dirty duct-work lowers your indoor air quality, can cause allergy flair ups, and lead to a dustier, dirtier house. Professional duct cleaning can eliminate all that dirty build up in your duct-work, and leave you with a cleaner home and improved indoor air quality.
Outside Equipment
The next item to check is your outside unit[s]. Are the enclosures clean and free of debris? When you look inside the enclosure through the top and side vents, do you see any dirt or other build-up? If you do, you can start by simply giving your outside units a good spray down with a hose to clean off all the large debris or dirt.
If your outside units are especially dirty, or it has been a long time since you have had your HVAC system checked and cleaned by a professional, you should seriously consider having a trained professional inspect and clean your HVAC system.
Inside Equipment
The last item to check on your HVAC system is your inside equipment and duct-work. Start by opening your return air vent and remove the filter. Is your return air duct air sealed all the way back to the HVAC system? Is your return air duct dirty or has any signs of mold?
In some cases, cleaning and sealing a return air duct is something that can be done by the homeowner. You would need to seal any and all cracks and seams throughout the return air duct, and ensure that the seal around the vent and air filter is tight and doesn’t allow any air to sneak in around the filter.
Your supply duct-work and inside unit are most likely located in your attic. In some cases, the inside unit will be located in a wall or service closet inside the house, but even then, the duct-work will be found in the attic most of the time.
Do Not Attempt To Open Or Make Any Adjustments To Your Inside Unit Yourself. This Is Something That Must Be Done By A Professional HVAC Technician.
When inspecting your inside unit, you want to do an overall visual inspection. Is the cabinet in good shape? Do you see any exposed wires? How is the connection/seal to the return air? Is there any standing water in the drip/condensation pan? Can you feel any air escaping from the system while it is running?
When inspecting your supply duct-work, you want to check the connections at the equipment, at any junctions or splits, and where they attach to the supply vents. When you pass your hands around the duct connections, do you feel any air escaping? At these same connections, do you feel any moisture/condensation? If you pull back the insulation on the ductwork a little bit, is the duct-work well sealed with mastic and fiber tape, or is it just held together with zip ties and silver tape?
If you find any of the issues with your inside unit – exposed wires, standing water in the drip pan, a damaged cabinet, or other issues, it is best to contact an HVAC professional immediately. If you find you have leaky duct-work connections, this is a repair that you can attempt yourself, or you can hire a professional team to test your duct-work and properly seal your duct-work.
Making sure that your system is tuned up and your duct-work properly sealed is an improvement that delivers the highest payback for the price. Properly sealing leaky duct-work can save 15% – 40%+ on your cooling and heating bill, and drastically improve the indoor air quality of your home. And, there are incentive programs offered by many of the electric utilities to help offset the costs.
Check Your Insulation
Checking your insulation is probably one of the easiest items on this list. On your own, you can’t check the insulation in your walls, but you can check the insulation in your attic, and under your raised house [if you have a raised house].
Check Your Attic Insulation
First, head up to your attic and take a look around. What kind of insulation do you currently have? The two most common insulation products found in our region are Fiberglass and Cellulose. If you have fiberglass – is it batt or blown-in? And, how many inches deep/thick is it? If you have cellulose – how long ago was your cellulose insulation installed, and is it spread evenly across your attic, and how deep is it?
If you have an older home, that hasn’t been updated, you may have limited insulation in your attic. If you have a home that was built in the last 10 years or so, and you have blown-in fiberglass or cellulose insulation installed, settling and shifting has probably occurred that can reduce the effectiveness of the insulation.
If you have 6″ or less of insulation in your attic, you are only realizing an R-19 or less insulation value. The current code calls for an R-30+ insulation value to properly insulate a home in our region. No matter what kind of insulation you currently have in your attic, there are solutions to either replace or improve and add to the insulation value. And, many of our local electric utilities offer incentives for increasing the insulation in your attic to help offset the cost.
Check The Insulation Under Your Raised House
If you have a raised home, it might be time to get a little dirty depending on how high your home is raised off of the ground. Grab a flashlight and get under your home and see if there is any insulation applied to the underside of your house. Chances are there is either no insulation or possibly fiberglass insulation that was installed years ago.
If you don’t have any insulation under your raised house, you need it. If you have old fiberglass insulation installed, it should be carefully removed, and replaced with approved insulation for raised homes.
Currently, the only insulation that is recommended for installation under a raised home in our region is closed cell spray foam insulation. Closed-cell spray polyurethane foam insulation, when properly installed, creates a seamless application that both insulates and air seals, and won’t absorb water in case of flooding.
Check Your Windows & Doors For Leaks
Checking your doors and windows for leaks is pretty straightforward. Since you probably don’t have a blower door, you will need to do this check by sight and feel. You will want to check all of your exterior doors, including the door to your attached garage [if you have one], and all of your windows.
The first check is by feel. You can pass your hand all around your windows and doors from the inside of the house to see if you can feel any warm air entering around the window or door frames. You can repeat this process from the outside to see if you can feel any cool air escaping.
The second check is by sight. Any large gaps or cracks around or in your window or door frames can often be spotted by simply inspecting them closely. A second method is to wait until night time, and with the help of another person, you can shine a flashlight all around the window and door frames. Anywhere you can see light coming through around the frames, air can too.
Other signs of air leakage around windows and doors are sprays of dust and dirt where dirty outside air is making its way in, and condensation/moisture where the air infiltration is happening.
Air sealing around your house can be done by most homeowners. Adding weather stripping and a door sweep to your exterior doors and caulking around windows will catch a lot of the major leakage. But, if you want to know exactly where all of the air leakage is coming from, and how much air leakage you have, a blower door test is the most accurate method for quantifying and detecting the origins of air leakage in your home.
Just like duct sealing and attic insulation, many of our local electric utilities offer incentive programs to offset the cost of testing, air sealing, duct sealing, and insulation.
Check Your Lighting
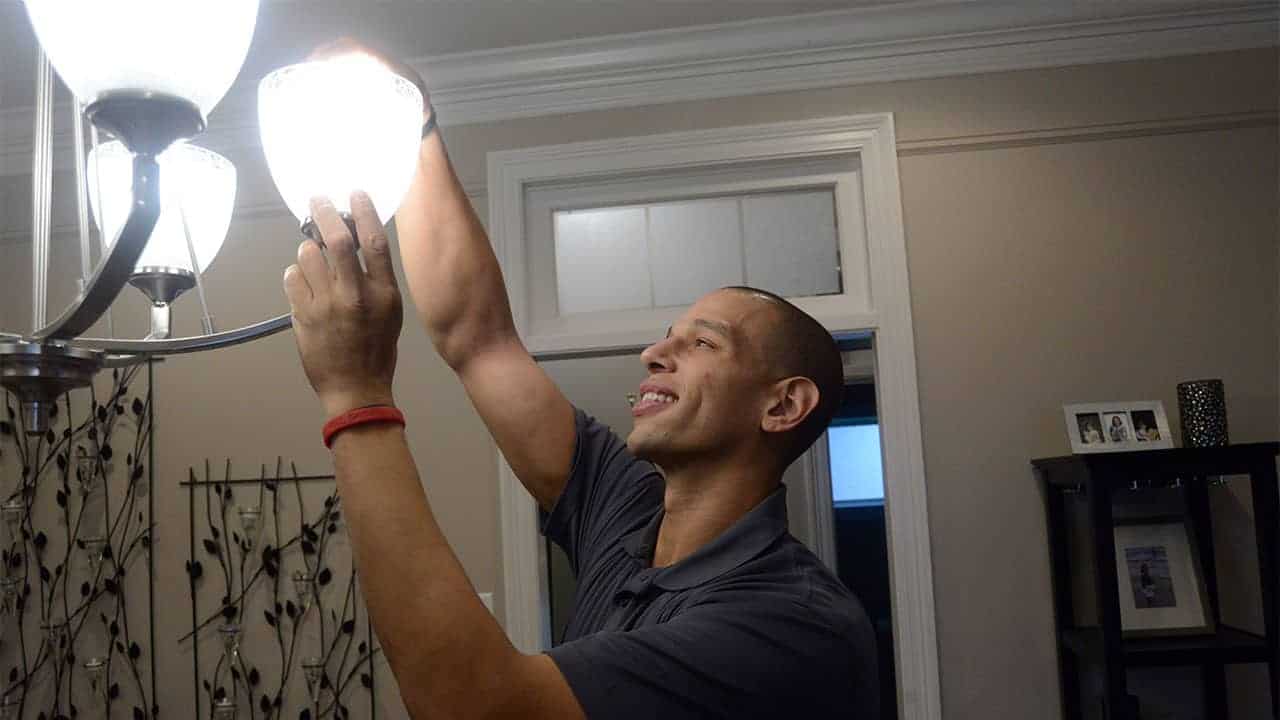
Gone are the days of the old fashioned incandescent lightbulb, but there are many options for high-efficiency lightbulbs that will help save on your electric bill. If you still have the old incandescent lightbulbs in your home, they can be replaced with long-life compact fluorescent or LED lightbulbs that use a fraction of the electricity of old fashioned incandescent bulbs. Plus, there are new, high-efficiency incandescent bulbs available that are many times more energy-efficient than their predecessors and last much longer as well.
Taking an inventory of your lightbulbs and replacing any old, inefficient incandescent bulbs can save on your electric bill, and make it so you don’t have to change your bulbs again for many years.
Check Your Electronics
Do you have any “vampire plugs” in your home? Vampire plugs are basically all of the plugs you use to charge your phone or tablet. These plugs are constantly drawing electricity, even when you don’t have your phone or tablet plugged in and charging.
Do you have other electronics that you only use occasionally that are constantly plugged in? Much like the vampire plugs mentioned above, many home stereos and TVs are constantly drawing power, even when not turned on.
You can cut this electricity waste by taking two possible steps. One, unplug all of these items when not in use. When you finish charging your phone or tablet, unplug the charging cord from the wall. If you have a TV or stereo that you only use occasionally, unplug it when not in use. Two, you can install plug bars, so you can cut the electricity to these items with the flip of a toggle switch on the plug bar. This way you can leave everything plugged in, but still, stop the vampire plugs from sucking up electricity when not in use.
Schedule A Diversified Energy 360 Energy Audit
We have covered a lot of items above, and many of the improvements mentioned can be done by the average homeowner. As an alternative, you can schedule a Diversified Energy 360 Energy audit, and our BPI certified technicians will come and run the diagnostic tests necessary to properly assess your home. We can also provide the insulation, air sealing, duct sealing, electric utility incentive participation [where available], and other services necessary to maximize the energy efficiency and indoor air quality of your home.
Wrapping It Up
For the health of your wallet and your family, improving the energy efficiency of your home is one of the best investments you can make. Improving the energy efficiency of your home pays you back in multiple ways. You will save on your monthly energy bill. You will enjoy improved indoor air quality. And, your HVAC system will last longer and work more efficiently with proper inspection and maintenance.
For more information about home energy efficiency, indoor air quality, and overall home performance, contact us today – 504-273-7779 – [email protected].
